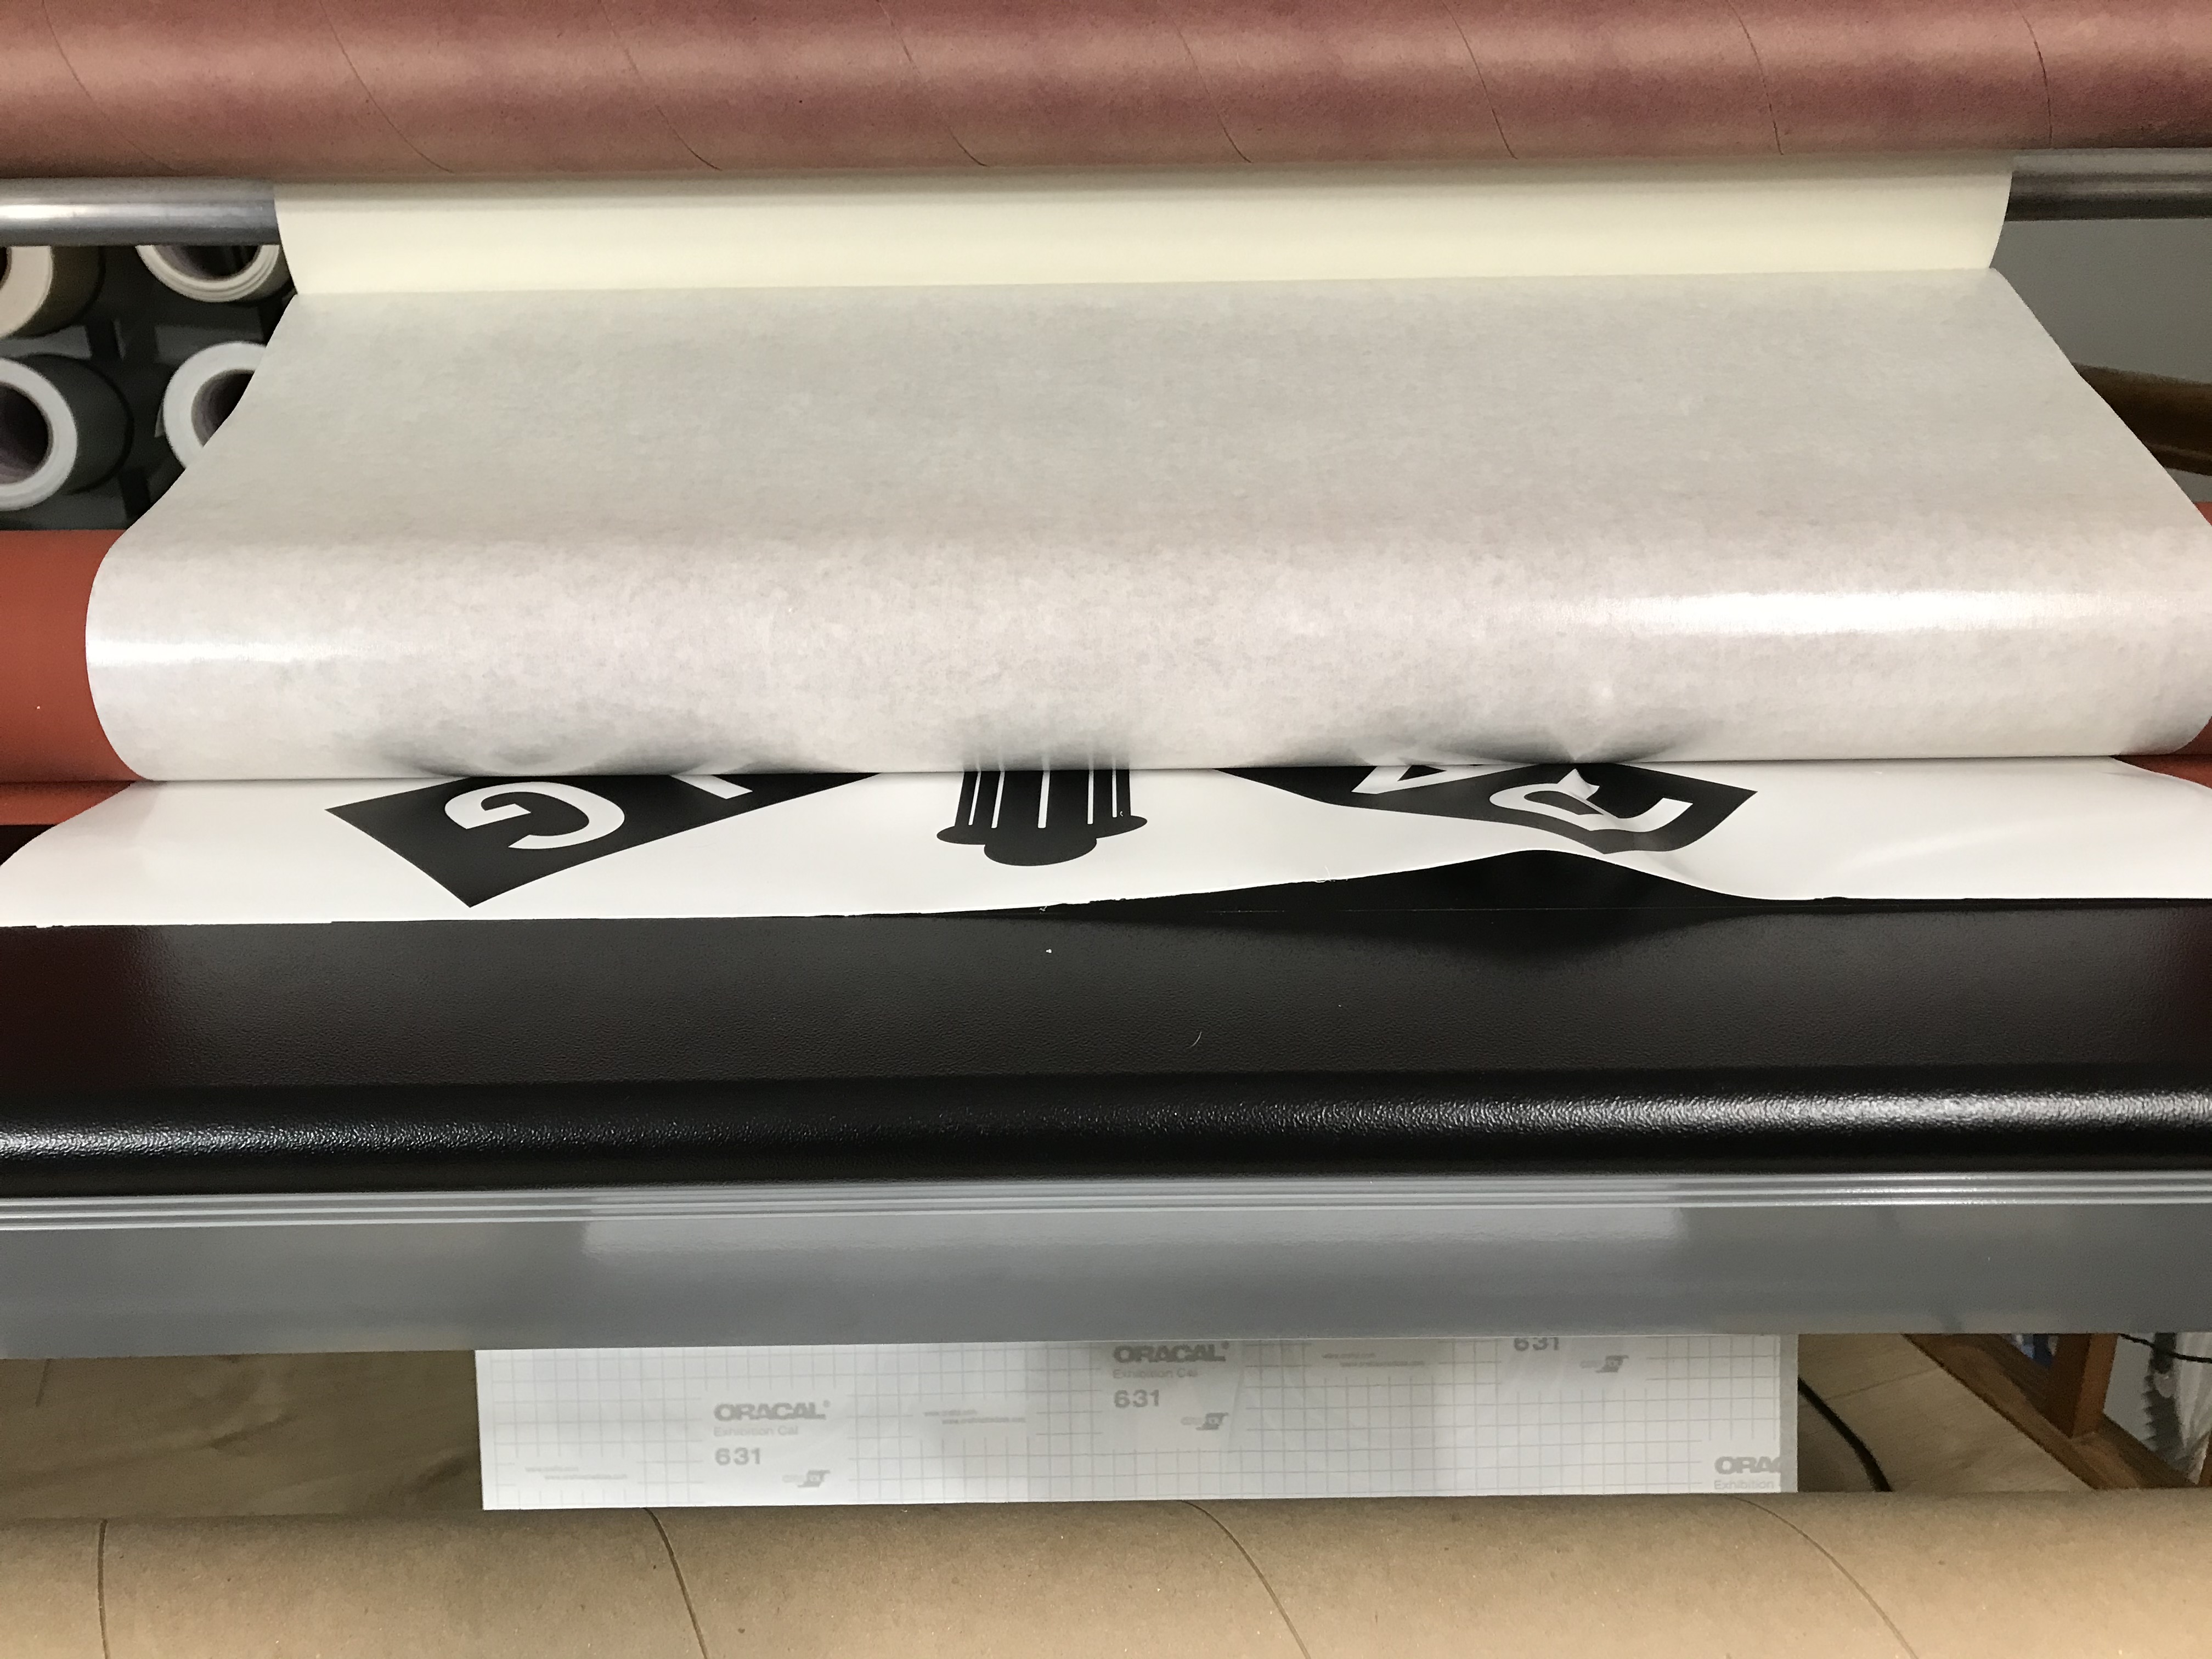
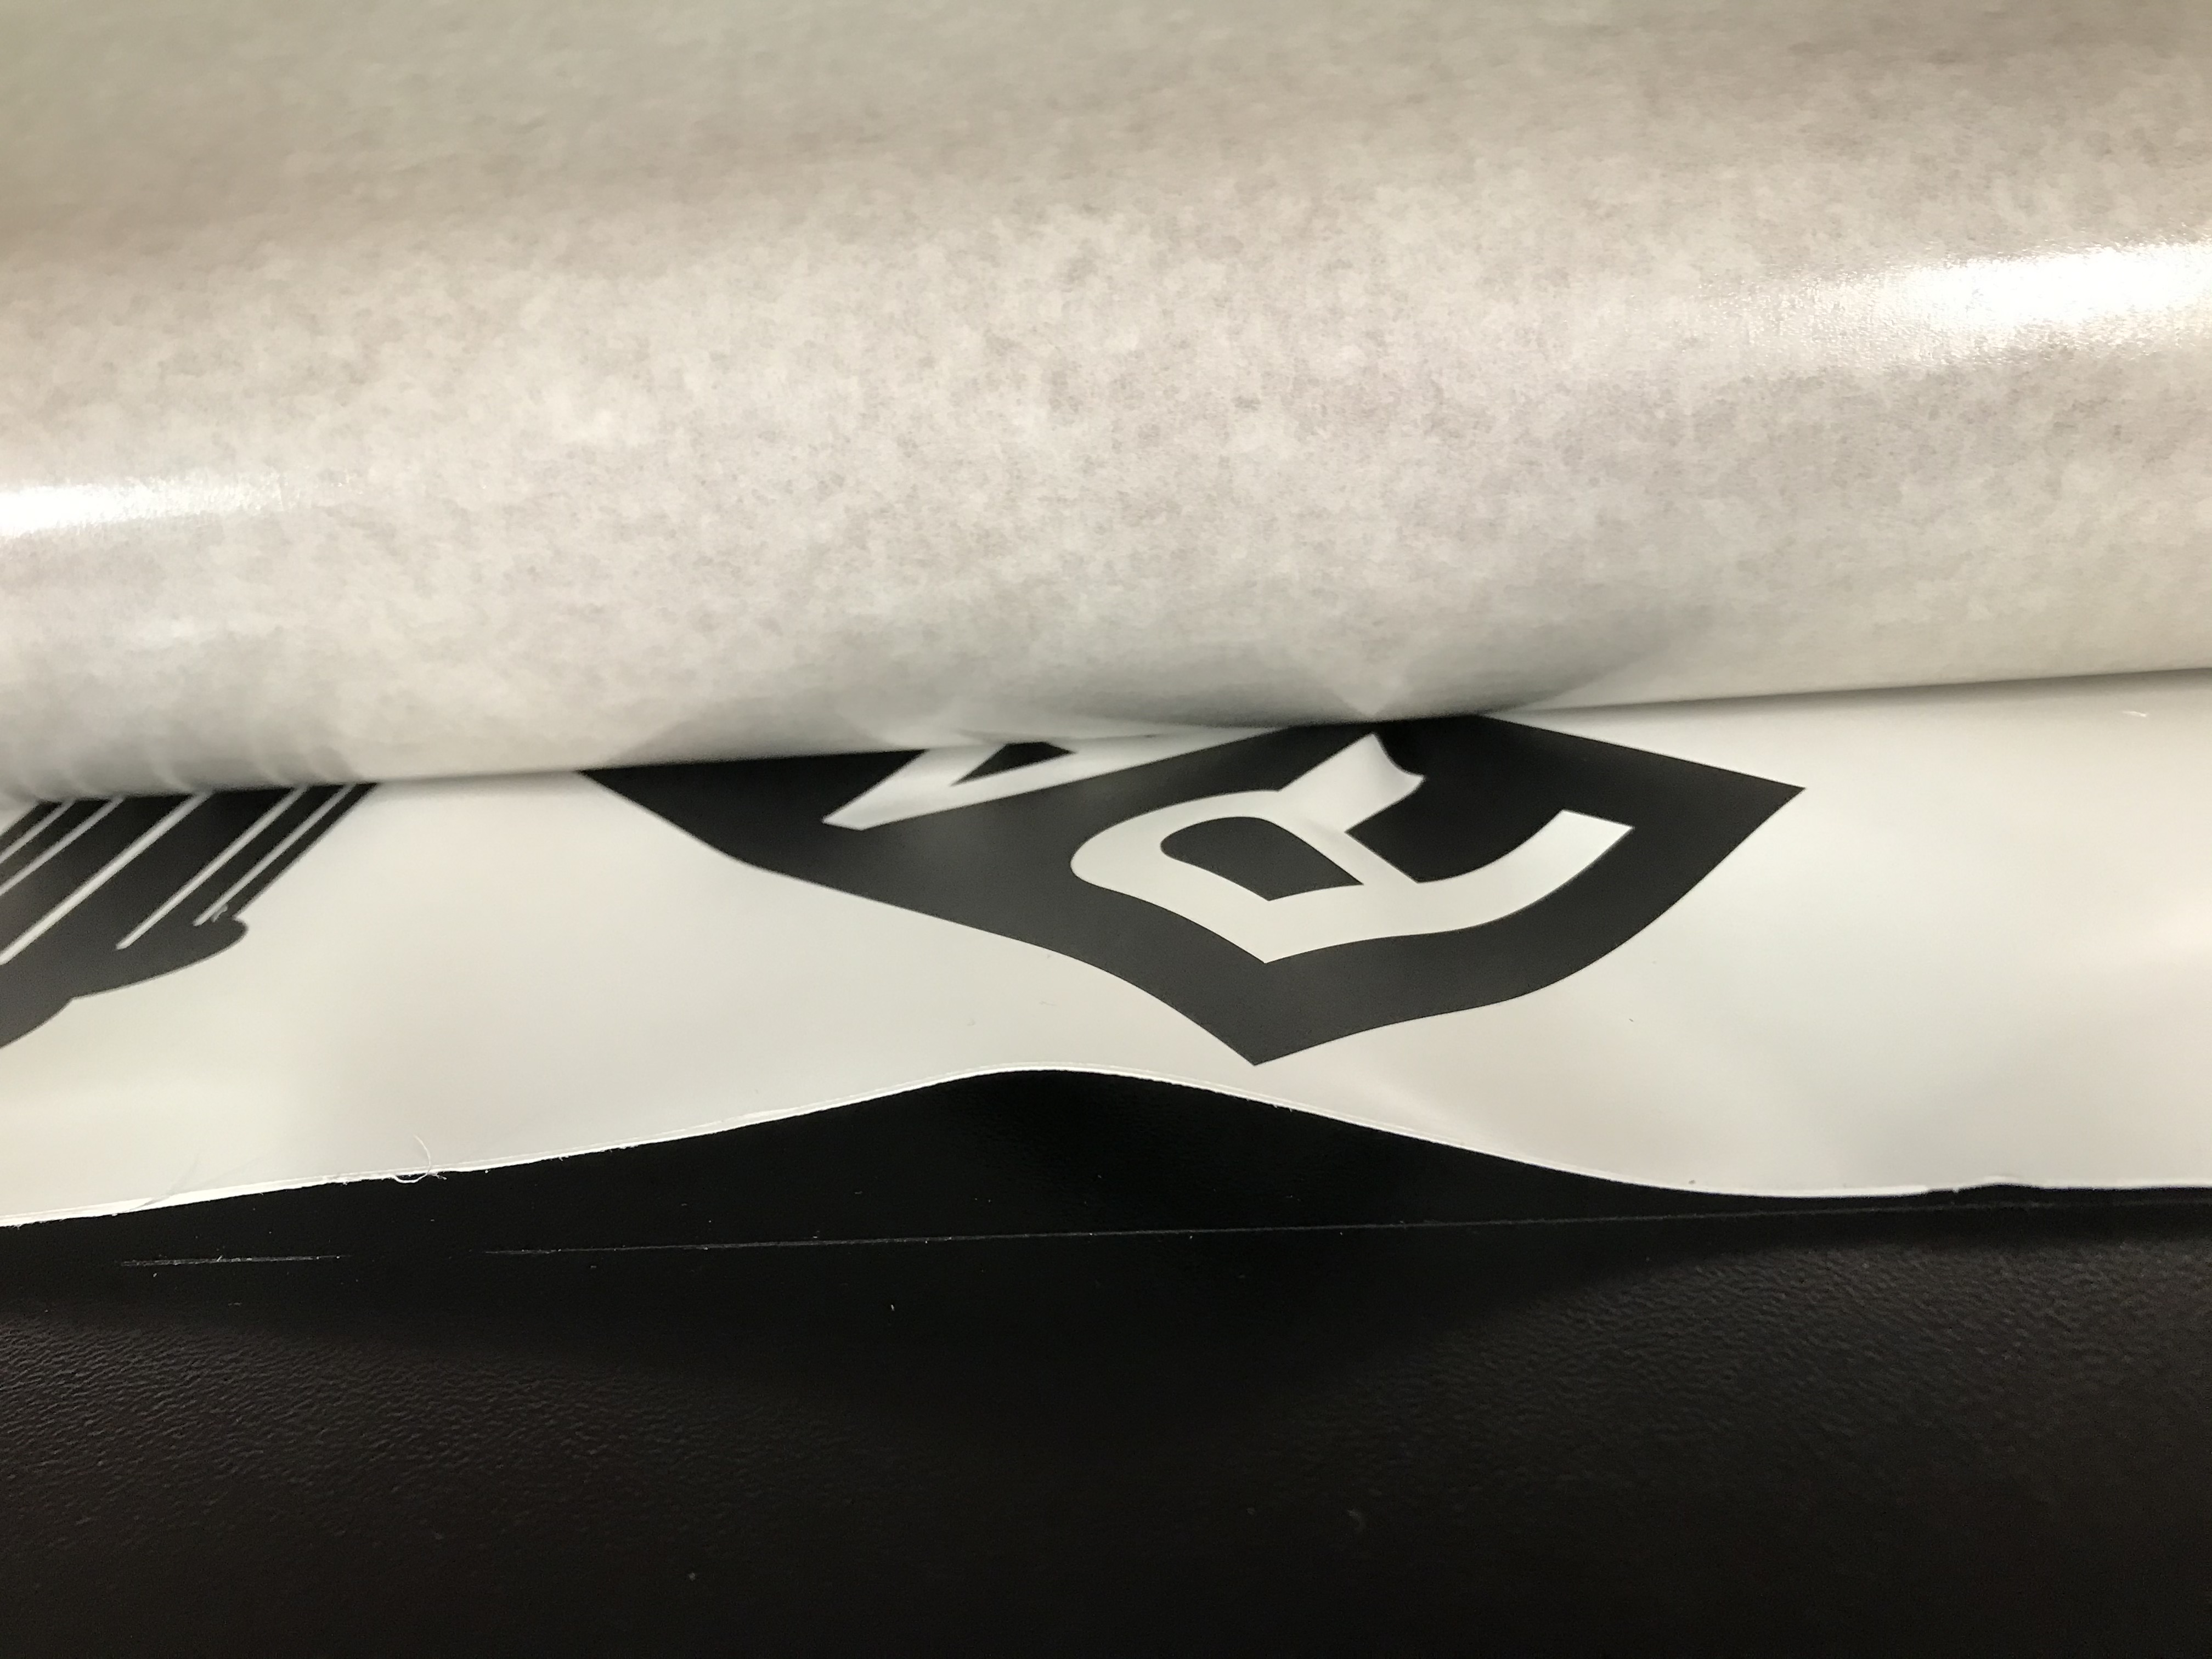
15 year daige user here - these laminators are finicky, but not impossible to use. We don't use one as our main laminators but as a masking machine they are good. Roller pressure should be cranked down to where they just touch each other, watch as they come down on each side and then adjust to make them evenly touching, then crank 1/4 turn on each side. Too much pressure is as bad as too little. Your material is bunching because you don't have a starter piece of material in the laminator, so any slight variation is going to cause a wrinkle. You also need to make completely sure your material is going in perfectly flat, this can be hard to do on a piece of material thats been weeded, so always leave yourself a solid edge of non-weeded vinyl on the end so you have enough structure in your material to push it flat and smooth when masking.
For the best results, you need to get a piece of scrap vinyl as wide as your application tape, and about 6"-10" wide. Feed this into the laminator to where it's started straight and flat, push the pedal at the perfect time as your pushing the material in at the same time. Having a solid edge is key so it must be vinyl that isn't weeded. Once you fed it in about half an inch, go around the back of the machine to pull the application tape up off the back of the deck so the material won't go down inside the machine. Press on the pedal again and keep the material going another few inches with the pedal. This will show you how the material will track briefly and if it will bunch up, if it did, you loaded it wrong or didn't get it started even, this takes practice, after going an inch or 2 more, leave about 2-3" of scrap material outside of the rollers sitting on the front deck where you'll feed in your next piece. Trim the sticky end off on the material on the rear deck so when your next piece of vinyl comes through, it will just push out the scrap piece.
This material that you leave on the front deck will be the material that acts as a cushion while you're feeding in your next run. You need to keep the machine primed with these pieces of material if you're laminating thin materials (that looks like weeded vinyl?) The thinner the material, the more critical having these feeder pieces in place. We keep them in ours at all times. At the end of every run, either mask more prints, butting it up to the previous run, or feed in your feeder piece to allow you to cut off the run on the back deck of the laminator. Have a stack of 36" x ~6" starter pieces of scrap material so you can feed these scraps in at the end of your runs that will setup the laminator for the next time you use it.
You need to get your hands right in the right places when pushing the print in and it needs to be flat, that's why pushing in weeded material is tough because it's almost never flat. Use the edges of the laminator to line up your prints to make sure it's at a good starting point and then push evenly. If you're going to send in fully weeded materials, you need to tape it to your starter sled so it goes in flat and straight. Make a weed border on your graphic and send in the hard edge with vinyl on it and you'll have more consistent results.