• I want to thank all the members that have upgraded your accounts. I truly appreciate your support of the site monetarily. Supporting the site keeps this site up and running as a lot of work daily goes on behind the scenes. Click to Support Signs101 ...

Alcohol streaks in UV prints

artifacture

New Member
My operator tried to apply Natron M74F primer to a sheet of 1/2" clear acrylic, and apparently we're still doing something wrong, as he applied it and noticed streaks after it dried. He messed with it for 30min, going over again with primer, and then finally resorting to isopropyl alcohol to get rid of the streaks even though it may have removed primer. Although there were no visible streaks beforehand, after printing, they were evident in the print. I used denatured alcohol to remove the ink, flipped the sheet over for good measure, did what I've read here, and wiped the sheet down with 91% isopropyl alcohol before printing, and it did the exact same thing. You can't see anything on the sheet in between the printed elements, but the wipe marks are there in the print. I guess it's possible I used the rag with the primer on it. I swear I've wiped down acrylic with alcohol before. But either way, this shouldn't be happening. This is CMYK with no white on a Mimaki flatbed.
 

Attachments

  • IMG_5950.jpeg
    IMG_5950.jpeg
    590.3 KB · Views: 145

White Haus

Not a Newbie
Pretty much what all our prints look like on our Oce Arizona when we prep w/ alcohol (or anything else for that matter) on acrylic.

Not helpful I know, but I've yet to find a way to successfully prep materials like acrylic without leaving behind visible streaks.

Have you tried buffing off the residue after prepping? The closest thing I've found to a solution is having a wet(ish) rag and a dry rag to buff it off at the end. Smooth, consistent, overlapping strokes the whole width of the sheet.
 

bob

It's better to have two hands than one glove.
Wipe the surface with RapidTac II. This stuff is one of the best glass, plastic etc cleaners extant. I never use it to apply vinyl but do use it for its cleaning ability. Give it a try.
 

Gino

Premium Subscriber
Try doing your prepping in smaller sections and don't let your cleaning agents air dry. Make sure you dry it ALL by hand before moving on for cleaning the next area.
 

White Haus

Not a Newbie
Wipe the surface with RapidTac II. This stuff is one of the best glass, plastic etc cleaners extant. I never use it to apply vinyl but do use it for its cleaning ability. Give it a try.
Will have to try this. There is ammonia in RapidTac 2 isn't there? I wonder if that is the magic ingredient.
 

ONYXtechtips

New Member
It has been a while but I don't remember wiping down any acrylics due to the issues you are experiencing. The killer with acrylic was static and that static attracting dust. The static suppression bar worked well to reduce static. In the demo center, we would remove the liner and print. If you are worried about finger prints, we would wear gloves to ensure that we were not contaminating the surface with oils. Ammonia cleaners produced streaks as it does not dry evenly. Isopropyl would cause damage to the surface of the acrylic. Dry towels could scratch the surface of the acrylic. When we would demo at trade shows was the worst. The carpet fibers would be drawn to the surface during printing with all the people milling around the machine.

Newer acrylic works better than old. UV ink is reliant on surface energy to adhere. Older acrylics do not have the same surface energy as new. The thing that sucks is acrylic is expensive and scrap is always around. If it is a month old or older, test the material prior to production. With UV ink, there are adhesion differences between freshly printed and after 24 hours of post cure. If dust is the issue, use an air gun to blow off the acrylic prior to printing. Make sure the air line is free of moisture. In essence, my experience has been that any chemicals on acrylic make the situation worse rather than better.

Remember with second surface printing, you are looking at the backside of the dot fired from the head. Streaks show up because it is sandwiched between the acrylic and the ink.

With the situation above, it looks like the ink density is very light. The dots are sitting differently on areas that did not dry the same from the chemical used. So the chemical is causing the surface to be different and the ink droplet reacts differently in those areas. Could be dot gain variation causing a different appearance.
 
Last edited:

Chris-H

New Member
My operator tried to apply Natron M74F primer to a sheet of 1/2" clear acrylic, and apparently we're still doing something wrong, as he applied it and noticed streaks after it dried. He messed with it for 30min, going over again with primer, and then finally resorting to isopropyl alcohol to get rid of the streaks even though it may have removed primer. Although there were no visible streaks beforehand, after printing, they were evident in the print. I used denatured alcohol to remove the ink, flipped the sheet over for good measure, did what I've read here, and wiped the sheet down with 91% isopropyl alcohol before printing, and it did the exact same thing. You can't see anything on the sheet in between the printed elements, but the wipe marks are there in the print. I guess it's possible I used the rag with the primer on it. I swear I've wiped down acrylic with alcohol before. But either way, this shouldn't be happening. This is CMYK with no white on a Mimaki flatbed.
Try wiping the sheet with mineral spirits then hit it with 50/50 alcohol/distilled water. I've been doing this for years on all acrylic and acm and it has worked great. Most of the streaks are from the adhesive on the liner. If you pay attention when you are removing the liner most of the streak will be where you paused while pulling the liner off. At least that has been my experience.
 

signheremd

New Member
Pastel colors are printed using fewer ink drops per square ink, thus they reveal issues in material prep more readily. Static usually causes your print to look fuzzy (like an old TV) and leaves overspray after some areas (the static causing some droplets to miss their mark or make an odd shape when they land). If you have a lot of static, there is a product called Staticide you can use to clean the substrate (works even better to remove static from your carpets). It is okay, but not the best. Another product we have recently tried and like is Mathews Paint Plastic Prep 6428SP. This evaporates quickly. A final product we have used and like a lot is Solv S1000 - though it is hard to find (RPG Square Foot Solutions still carries it, Tubelite/Denco did before Grimco bought them). Some tips for cleaning, don't let the prep dry before you wipe it as it can leave sections that print oddly; wipe the whole thing and then do wipes as straight as possible one way, and then wipe 90 degrees from that and again go as straight as possible; let the substrate dry completely before printing; use a microfiber cloth - we even use one the clean with the prep and a second to do the final wiping; handle substrate carefully before printing as finger prints cause issues when printing; for printing on freshly painted surfaces, like MDO, clean with Windex - the other cleaners I mentioned and alcohol will react to and damage the finish on the paint.
 

mkmie

Lost Soul

M74F UV Adhesion Primer​


Has anyone used the above advertised on Signs 101? Boston Industrial Solutions
 

artifacture

New Member

M74F UV Adhesion Primer​


Has anyone used the above advertised on Signs 101? Boston Industrial Solutions
They were the only company that sent me a sample of their product when I asked. They seem really nice. I used it on a small piece as a comparison with/without and it seemed to work great. I just need to figure out a tool/process to put it on a whole 4x8 sheet without streaks. I saw someone on YouTube applying a primer with one of those foam/velvet corner paint tools that they kept in a sealed storage bin between uses. I'd like something like that, but the ones I'm seeing at Lowes are styrofoam and the primer has a smell that suggests it may not be compatible with that. I was thinking maybe a tool used to clean the outdoor side of windows on your house... something with reach so I can cover the whole sheet from the same side.
 

artifacture

New Member
It has been a while but I don't remember wiping down any acrylics due to the issues you are experiencing. The killer with acrylic was static and that static attracting dust. The static suppression bar worked well to reduce static. In the demo center, we would remove the liner and print. If you are worried about finger prints, we would wear gloves to ensure that we were not contaminating the surface with oils. Ammonia cleaners produced streaks as it does not dry evenly. Isopropyl would cause damage to the surface of the acrylic. Dry towels could scratch the surface of the acrylic. When we would demo at trade shows was the worst. The carpet fibers would be drawn to the surface during printing with all the people milling around the machine.
When I got a the machine earlier this year and asked on this forum about primer, several people said just cleaning the surface with alcohol was enough to improve ink adhesion. Likely, this is due to the mold release used in manufacture of cast acrylic sheets. I've done it on small sheets just fine, but at least on the printer, it's impossible to reach the whole sheet from one spot.

Newer acrylic works better than old. UV ink is reliant on surface energy to adhere. Older acrylics do not have the same surface energy as new. The thing that sucks is acrylic is expensive and scrap is always around. If it is a month old or older, test the material prior to production. With UV ink, there are adhesion differences between freshly printed and after 24 hours of post cure. If dust is the issue, use an air gun to blow off the acrylic prior to printing. Make sure the air line is free of moisture. In essence, my experience has been that any chemicals on acrylic make the situation worse rather than better.
Interesting to think that maybe there is nothing physical affecting it aside from the act of wiping it down potentially changing the surface energy.
Remember with second surface printing, you are looking at the backside of the dot fired from the head. Streaks show up because it is sandwiched between the acrylic and the ink.

With the situation above, it looks like the ink density is very light. The dots are sitting differently on areas that did not dry the same from the chemical used. So the chemical is causing the surface to be different and the ink droplet reacts differently in those areas. Could be dot gain variation causing a different appearance.
This was first surface, CMYK only. A special case for this project. That may be why I haven't seen this before. We always include white, and almost always print 2nd surface.
 

DL Signs

Never go against the family
Like Gino says, wipe alcohol until dry, use one rag to clean, followed with a clean dry one & wipe till it's completely dry. Just wiping down with alcohol and letting it air dry just loosens and spreads contaminates around.

Even when doing first surface acrylic, you can still always throw down a layer of white ink as a base for extra hiding power if you need. Helps colors pop too.

Adhesion promoters are the bomb. Never used that M74F, but it's always worth at least having some in stock when you find one that works. I ran Fujifilm printers and used their Uvijet ZE adhesion promoters. They're all optically clear, easy to apply, dump some on a microfiber, wipe down the material, when it's dry, print it. If yer' in a rush and want to speed dry, use shop air w/ an electrostatic air gun. Uvijet is sold through Fujifilm, not sure if it's compatible with Mimmaki inks, but like the hot sauce commercials say, I put that s**t on everything... :cool:
 

chinaski

New Member
Don't hand wipe. Use a random orbital sander with foam pad. Follow that up with compressed air gun over the material to remove any debris that could shed from the foam but also ensures that the primer is dry and evenly coated.
 

woody1512

New Member
My operator tried to apply Natron M74F primer to a sheet of 1/2" clear acrylic, and apparently we're still doing something wrong, as he applied it and noticed streaks after it dried. He messed with it for 30min, going over again with primer, and then finally resorting to isopropyl alcohol to get rid of the streaks even though it may have removed primer. Although there were no visible streaks beforehand, after printing, they were evident in the print. I used denatured alcohol to remove the ink, flipped the sheet over for good measure, did what I've read here, and wiped the sheet down with 91% isopropyl alcohol before printing, and it did the exact same thing. You can't see anything on the sheet in between the printed elements, but the wipe marks are there in the print. I guess it's possible I used the rag with the primer on it. I swear I've wiped down acrylic with alcohol before. But either way, this shouldn't be happening. This is CMYK with no white on a Mimaki flatbed.
I have had the same issue on clear acrylic and on glass. Yet to completely resolve this. I found what works best for me is leaving the primer on for around 15-20 minutes then buffing the surface with a lint free cloth. but this is not perfect, like you say the surface can look spotless until you print onto it.
 

ProColorGraphics

New Member
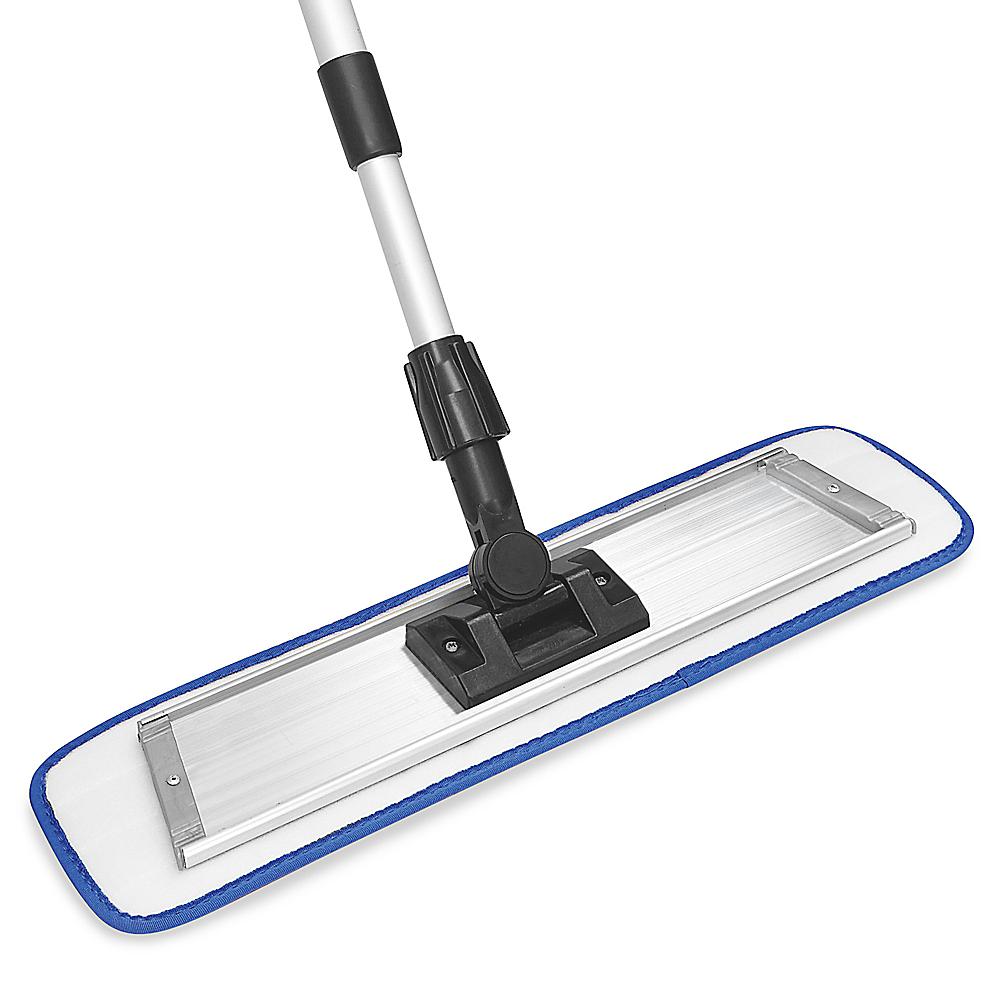
On my V7000, I wipe mine down with this adhesion promotor and this microfiber mop.
 
Top